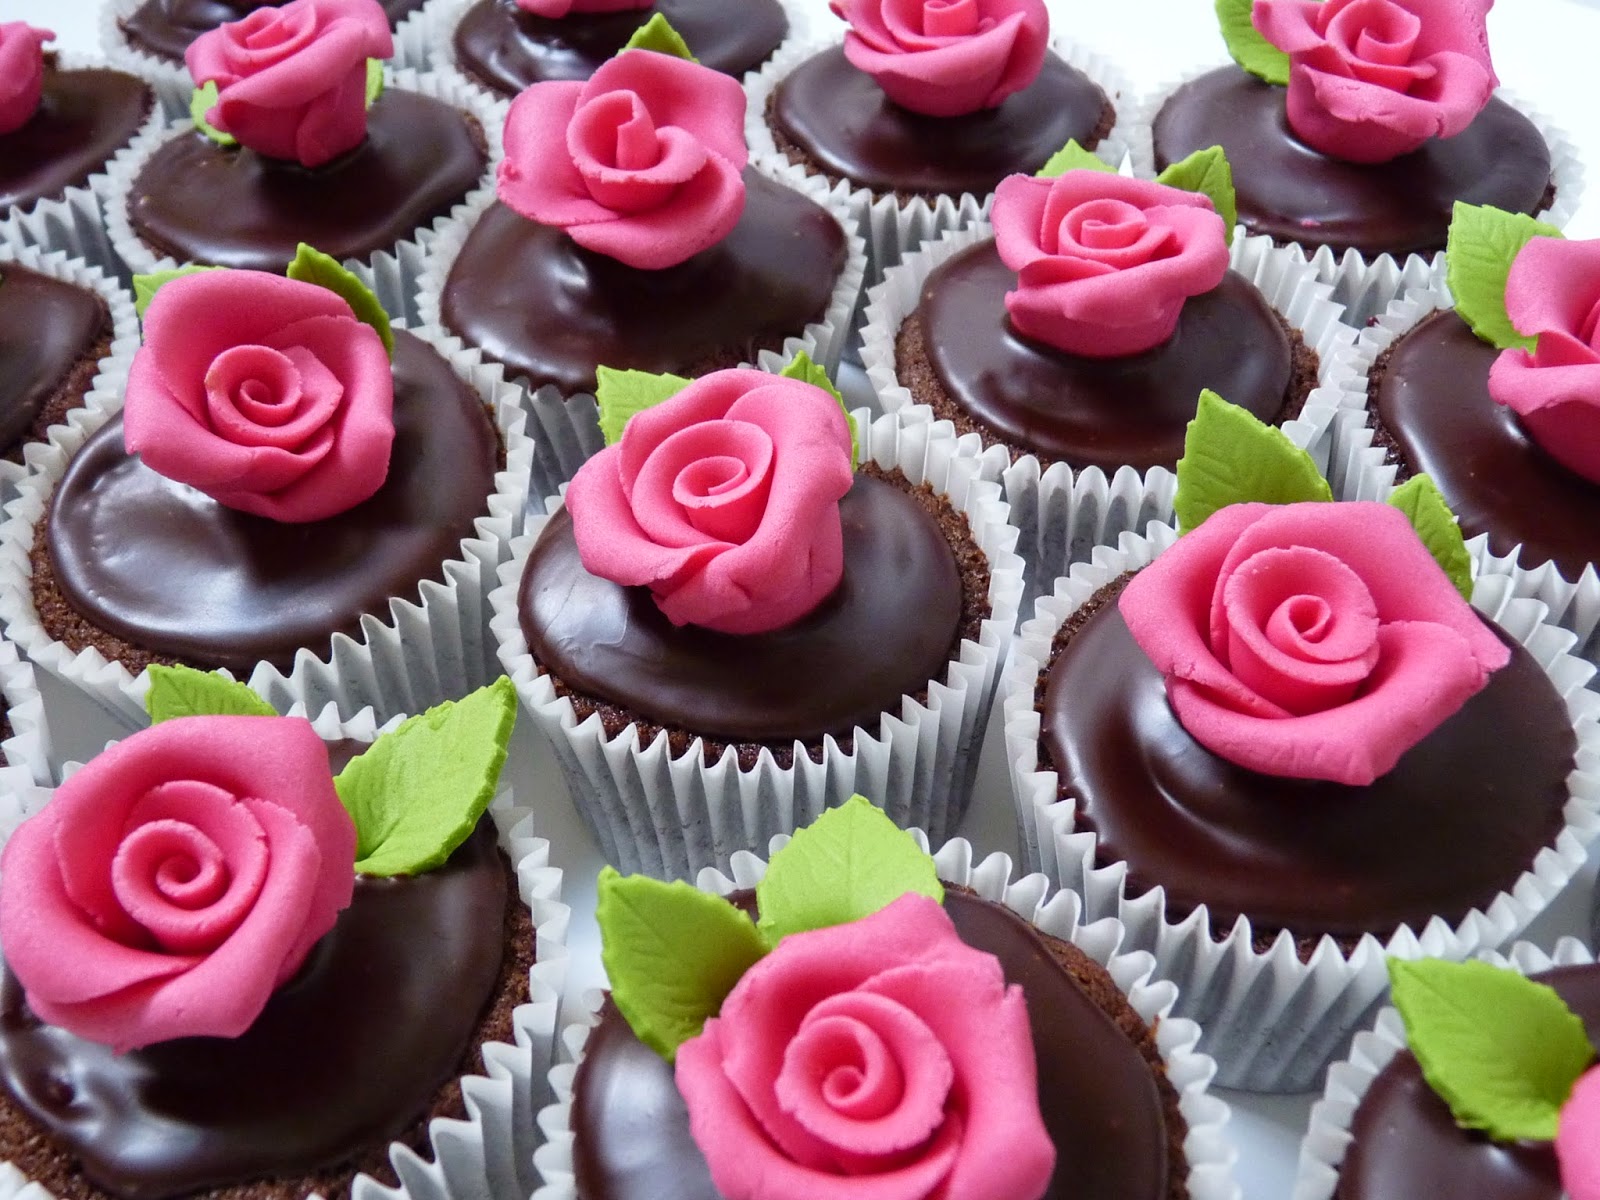
Create an exquisite centerpiece to your cakes with these chocolate flowers, the perfect way to add an eye-catching pop of colour and are ideal for spring inspired cakes.
To create the petals, dip a plastic spoon in melted chocolate until its backside is covered, wiping away any excess and setting on baking paper until set.
How to make the petals
Chocolate flowers can be easy to craft. All it requires is having the proper technique and not worrying too much about how perfect their petals may look! Brush strokes and uneven edges add character and charm. If you want your blooms to have more flair, add another splash of color by brushing contrasting colored melted chocolate over their petals once dry.
Create your petal template. Cut a small triangle out of parchment paper, and use this guide when making petals. Place it on a flat plate or other concave surface that has some give, to help give your petals an ideal, rounded shape. When ready, dip a small knife in melted dark chocolate and trace around your template with its tip until all petals for your flower have been completed.
Once you have your set of petals ready, dust your hands, board & rolling pin with cornflour to prevent chocolate sticking. Roll out modeling chocolate fairly thinly using cutters or templates and cut four equal-sized petals from it using cutters/templates – each petal should wrap right up around the center cylinder of the rose if possible! Keep in mind that roses may contain any number of petals but a common combination would include four large and five smaller.
If you want to use this flower as a cupcake decoration, pipe a low swirl of frosting onto an already baked and cooled cupcake before carefully attaching your flower on top with some kind of adhesive before the frosting sets up completely. Complete your design by placing a Sixlet or other type of candy pearl in its center as an accent piece.
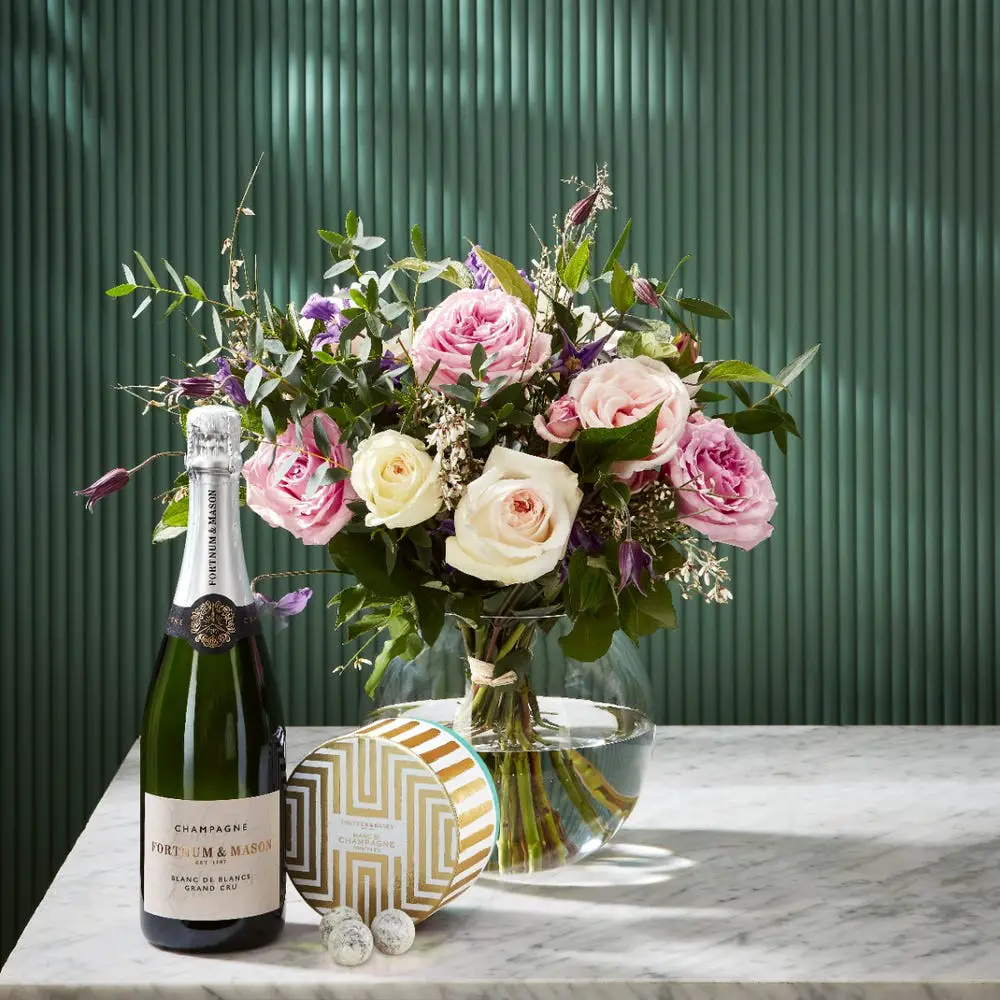
Roses make an elegant decoration for cakes and other sweets, and can add a floral theme for Mother’s Day, birthdays or just because. If roses aren’t your thing, try different varieties such as tulips, daffodils and sunflowers instead!
How to make the center
Chocolate flowers are an easy and delicious way to add an elegant finishing touch to cakes. Made from either real chocolate or candy melts, you can use either to craft flower petals and leaves that appear hand-sculpted for an impressive display that makes any birthday or anniversary even sweeter! These delicate blooms make an impressive gesture.
Start by cutting a 6-in wide piece of foil. Fold down its top part to form a cup, if you prefer an open poinsettia shallow cups work best; otherwise deeper ones would do. Next, spoon in some red chocolate melted in your microwave; place one large bract over it while spreading out to cover most of it, followed by more large and some smaller bracts to complete your flower!
Once all the petals are complete, it’s time to create the center. Begin by rolling out some orange modelling chocolate coloured with half orange and half yellow colourings for a softer orange tone, cutting a small blossom shape for the center and two medium ones for medium petals; cut more small petals as needed until your rose looks full and fuller. Make sure you sprinkle your hands and work surface often with cornflour to stop it sticking before handling delicate petals carefully!
Once completed, place the center on a plate to dry before creating the flowers and leaves as described above.
Add some coloured tissue paper around it for a finished look, before wrapping and giving to someone special in your life – they’re sure to enjoy it! Additionally, include a card as a special surprise; this makes the present even more personal for them and could come in handy during difficult times, like when someone needs hospital care. This would also make an ideal present when someone needs comfort during tough times, such as being hospitalised themselves.
How to make the stem
This technique makes creating miniature flowers simple, making the perfect accents to cakes and cupcakes. Use as small clusters on either side of a cake, name plaques or create different coloured blooms and arrange them together with other springtime blooms for a stunning spring flower display!
Flowers are constructed using modelling chocolate, a mixture of chocolate and liquid glucose that forms flexible yet moldable forms. It’s much simpler to work with than sugar paste and sets faster, too – all it requires for production is 4 oz of chocolate and 2 tablespoons of liquid glucose!
Start by heating chocolate in the microwave for 30 seconds at a time, stirring after each 10 second interval, until all the chocolate has fully melted, adding black food colouring as you stir again to combine it. Once all this has happened, use a paint brush to cover a piece of parchment paper or waxed paper with chocolate and allow any excess to drip off before placing it back onto your counter surface.
Paint a petal shape onto the paper using colored chocolate, then allow it to set. Make sure the first petal is flat before continuing with more petals. Once set, use either a Dresden tool or the sharp end of a skewer to stipple designs into its middle using either of these tools – the latter option allows you to make your flower more realistic by adding additional stippling details.
Once your center is completed, it’s time to assemble your flower. Place one petal at the base of the stem before adding more petals until a circle forms around your stem. Be sure that each petal sits evenly around its stem; to give your bloom a more natural appearance you could also curl some by gently pulling up on some petals with your hands.
Add an extra bit of sweetness and taste while making your chocolate flower more realistic with a gold Malteser in its centre! This will add extra sweetness and make for an eye-catching display!
How to make the leaves
Chocolate leaves make an elegant cake decoration and are an easy way to elevate any simple dessert. They can be created using real or candy coated chocolate; real chocolate requires tempering so that it sets properly; for faster results you could also purchase pre-tempered tempered chocolate to save time when creating these leaves.
To craft chocolate leaves, you will require several supplies. First and foremost is leaf shaped molds which you can find from chocolate making product suppliers, kitchenware stores or online. Furthermore, some green modelling chocolate and small paint brushes will come in handy; to make the latter, combine 4 oz of chocolate with 2 tablespoons of liquid glucose until a soft dough forms that you can then shape into flowers and other decorations.
Once you’ve secured leaf shaped molds, prepare the leaves by brushing a thin layer of green modelling chocolate on them and placing them in the freezer to set (this will prevent too fragile leaves later on). When they have set completely, remove from the freezer and brush with another thin coat of chocolate to complete your leaves.
Next, create the flower centre. For this step, cut one large, two medium, and three small sets of petals from green modelling chocolate and thin them down using a well-dusted sculpting tool for a rounded appearance. Reserve three to four of your larger leaf forms.
At this point, it is time to attach the centres to your flowers. To do this, gently heat a small ball of yellow chocolate in your hands, press it onto one of the flowers, push down with a skewer, re-stipple to secure and lock in place the centre.
Once your flowers have been completed, they can be used to embellish cakes and cupcakes, combined with other chocolate flowers into bouquets, or simply placed as garnish on desserts as a decorative feature.
